World's 1st
Micro Arduino Keylogger
with remote wifi access
Things you will need
Lets get started!
Wiring
Remember grounds are typically common across the board, so you can wire in ground at any ground point.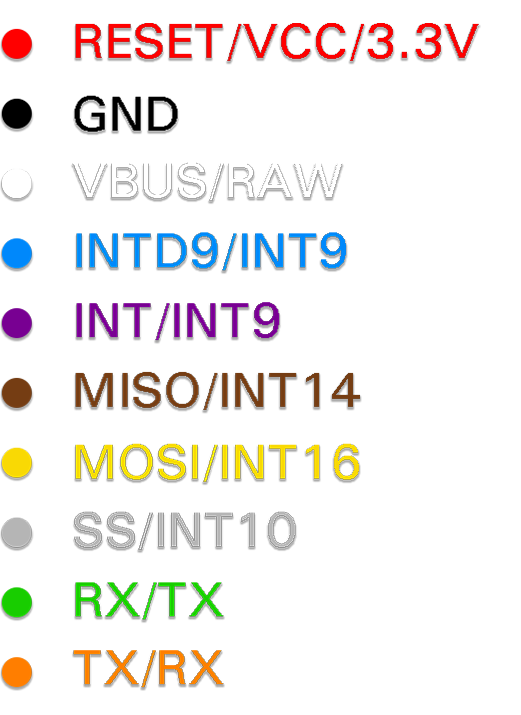
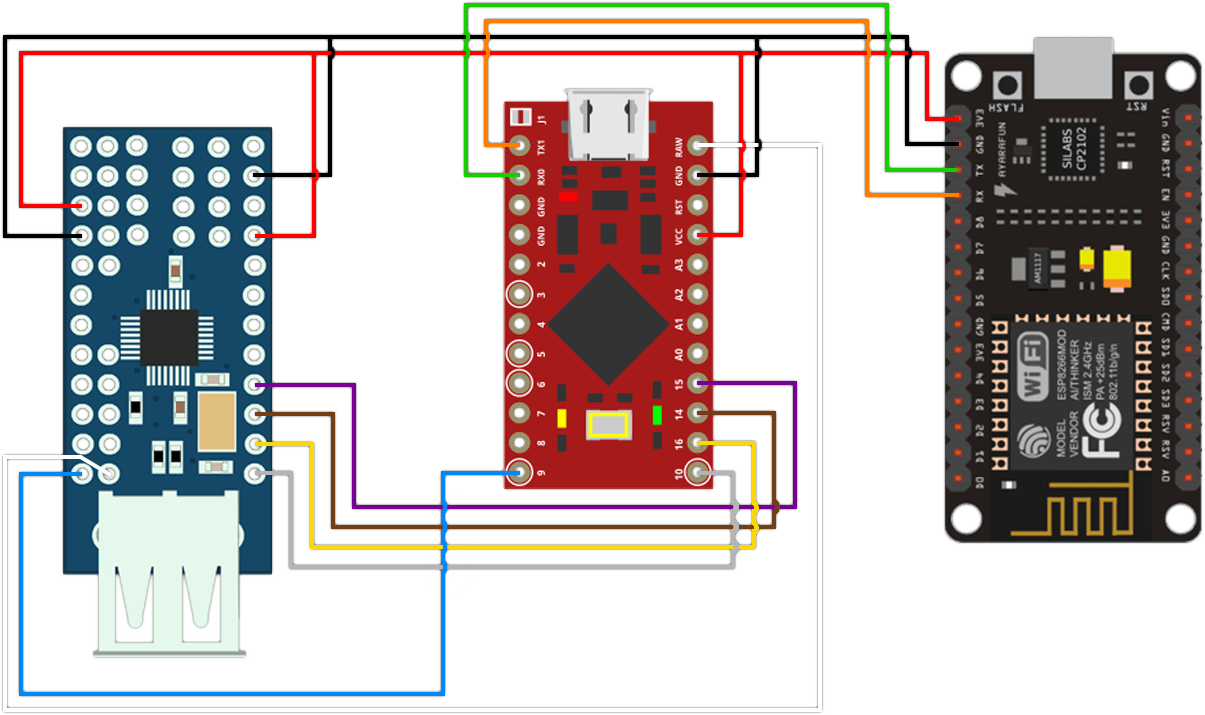
Installing the Libraries
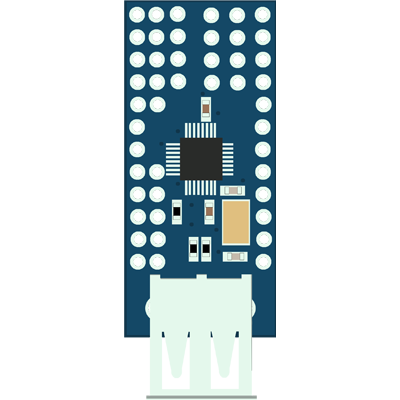
To prepare your keylogger.ino file you need to install the appropriate library for the USB shield.In this tutorial we will be using the Mini USB Host Shield 2.0, so we will be installing the USB Host Shield Library 2.0.
You can retrieve this from the following link:
USB Host Shield 2.0
To do so, we can open the Arduino IDE, and in File > Preferences, under the Settings tab, at the top, you will see Sketchbook Location:
Take note of the file path. This is where your Sketchbook is located.


/Arduino/libraries/
Restart your Arduino IDE.
This can be found at File > Examples > Examples from Custom Libraries: USB_Host_Shield_20.
You can also verify if the code compiles at Sketch > Verify/Compile.
Any errors most likely can be resolved by a quick Google search.
If you have no errors, then you are ready for the next step.


Adding the Board (.brd) Files
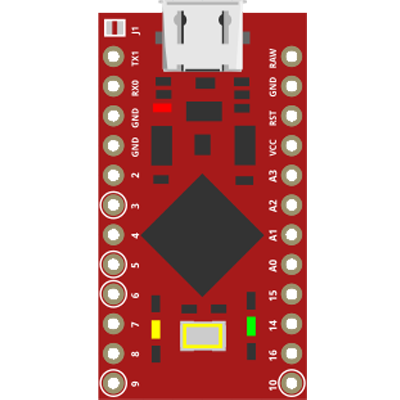
To set up your Arduino Pro Micro we first need to install the Arduino Add-on.This will allow the Arduino IDE to see your board with the board (.brd) files.
This guide is for the SparkFun Pro Micro.
If you decide to use another board, you will have to follow the guide provided by its manufacture.
https://raw.githubusercontent.com/sparkfun/Arduino_Boards/master/IDE_Board_Manager/package_sparkfun_index.json
Toward the bottom of the Preferences window, you will see Additional Boards Manager URLs:
In the box to the right, paste the above URL.
Click Okay and restart the Arduino IDE.


We can verify this from Tools > Board: SparkFun Pro Micro which we should now select.
Since we are using the 3.3V Pro Micro, verify Tools > Processor: is 3.3V and not 5V.


Note: Pro Micro's are notorious to have connection issues, so here are my tips.
Make sure you are using the right USB cable. You want one for data transfer.
If your computer does not even detect the SparkFun Pro Micro connecting, chances are this is your issue.
Windows 10 should automatically install the drivers for your SparkFun Pro Micro, but if you are having driver issues visit:
SparkFun Tutorials Pro Micro
Verify which port your device is on and select the appropriate port.
Uploading the keylogger.ino file
To upload the keylogger file navigate to Sketch > Upload in your Arduino IDE with your Pro Micro connected. If you receive any errors, a quick google search can usually help.
